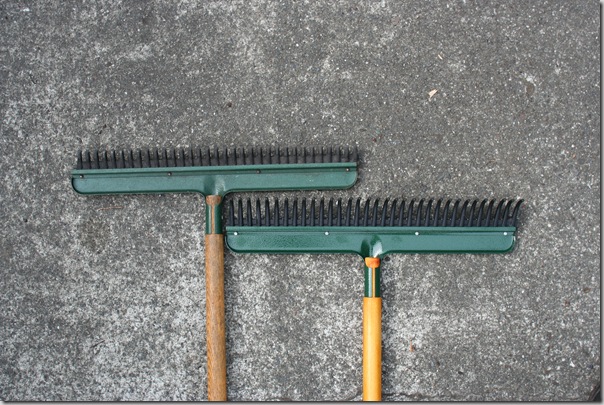
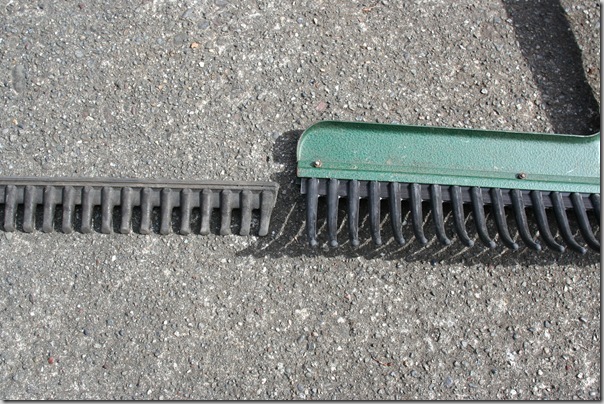
This doesn’t need a lot of explanation, so I’ll get right to it: Here’s how to change the tines on your Clarington Forge Wizard or Merlin rubber rake. First, the comparison shot. While the angle of the photo doesn’t make this stunningly clear, the one on the left actually still has some life in it and could probably have made it through one more raking season:
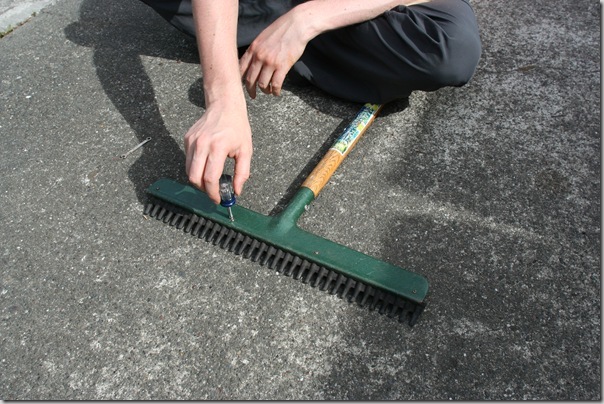
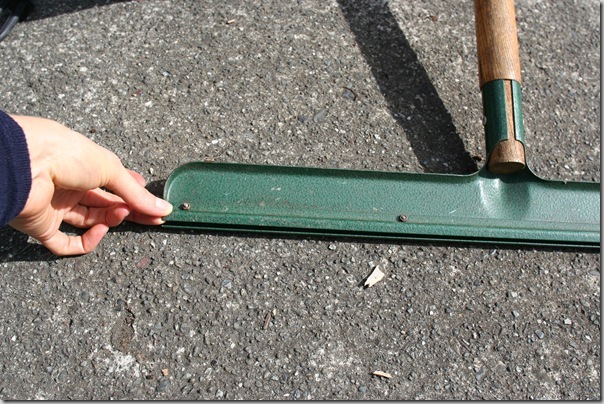
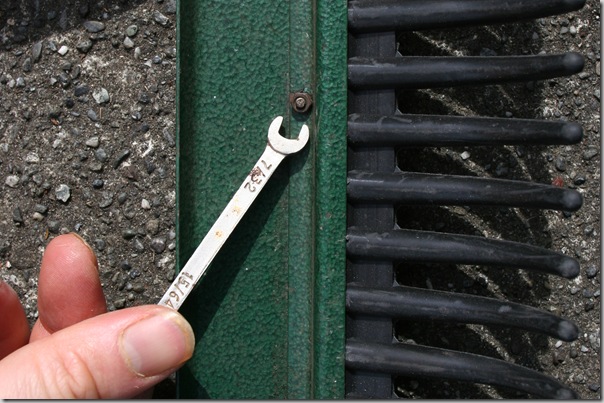
The plate that holds the strip of tines on is held in place with four tiny screws with bolts on the back. Start by loosening the screws/ bolts. We used a tiny Phillips-head screwdriver and a 7/32ths wrench.
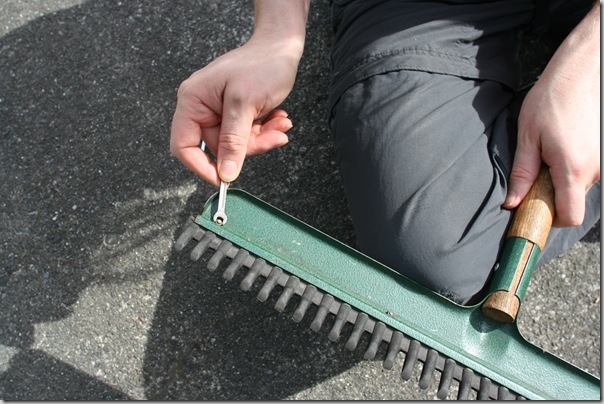
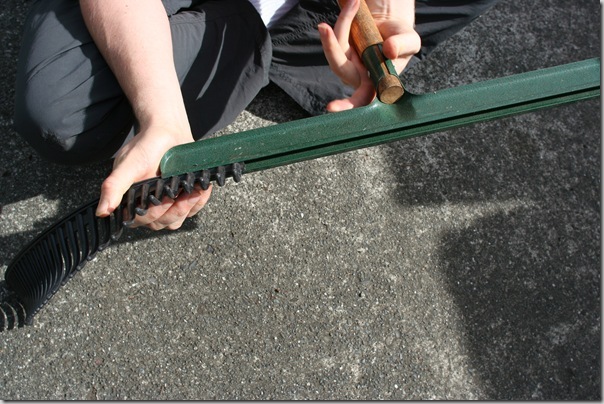
Slide the tines out:
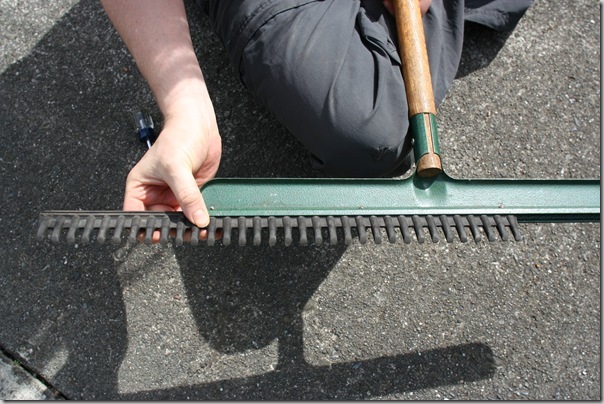
You can see the plate that holds the tines in place:
Slide the fresh tines in:
Tighten the bolts again. Here is where I have a product suggestion for Clarington Forge – guys, it’s really hard to slip a wrench over a bolt when the metal plate is right up against the side of the bolt. Just a small design tweak to make the plate a bit longer and move the bolt away from the edge by a quarter to half inch would make changing the tines so much easier. Maybe in the next run we’ll see that change??
The old and the new:
Read more about the Clarington Forge rubber rake here!
4 responses to “The Clarington Forge Rubber Rake: How To Change The Tines”
This looks like my kind of tool. I would love the Wizard!!!
I like to work on my garden really early in the morning and I am always concern if I am annoying some body and make them not to sleep. This rubber rake is really cool. I want one for sure. Farid
wow just what I need–a wizard! big urban yard–neighbors close by–tons of trees–oaks and black gum, and can you say acorns? add all this up with 120? frontage plus the “lower 48? cause I have a corner lot and the sidewalks collect everyone else’s leaves too.
on top of this I’m reclaiming my entire yard from 20 years of hawkweek, entire yard is much except for small beds that have–grasses and sedums and groundcovers!
Pick me!
I really would like one of these, the wizard is the one i need.Thank you
Monia